Scale pixel art without blur. Keep it crisp with one line.
By default, browsers smooth images when you scale them, which makes sprites and icons look muddy.
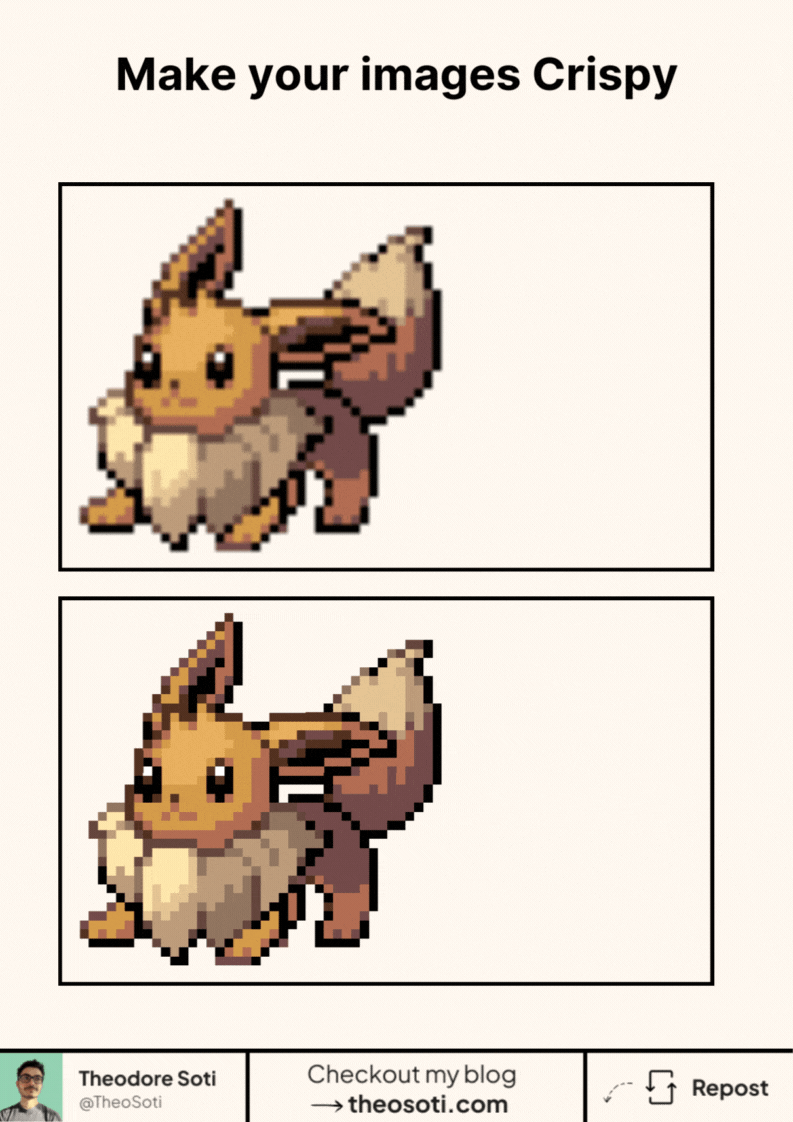
image-rendering: pixelated; forces nearest-neighbor scaling so every pixel stays sharp.
Use it when you upscale low-res assets: pixel art, icons, retro screenshots, QR codes.
Skip it for photos or illustrations that should stay smooth. Apply it to the element you’re resizing (img, canvas).
It takes effect when the rendered size differs from the image’s intrinsic size. If you’re using background images, test in your target browsers since support can vary.
No extra assets. Smaller downloads. Clean, crunchy results. Modern browser support is broad with ~95%.
Don’t hesitate to share projects where you used this property!
image-rendering: pixelated is perfect for pixel art and retro assets that need hard edges when scaled. Apply it selectively, because photographs and gradients usually look degraded with this mode.
image-rendering: pixelated preserves hard edges for pixel art and retro sprites. Use it selectively, since photos and gradients usually degrade with this mode.
Keep fallback rendering in mind so unsupported effects still produce clear, readable visuals.
When introducing image-rendering: pixelated, begin with one reference component and treat it as the canonical pattern. That rollout sequence preserves clarity and reduces regressions during future refactors.
Reserve the pixelated mode for true pixel art assets, and keep other imagery on normal rendering to avoid accidental degradation.
If you liked this tip, you might enjoy the book, which is packed with similar insights to help you build better websites without relying on JavaScript.
Go check it out https://theosoti.com/you-dont-need-js/ and enjoy 20% OFF for a limited time!